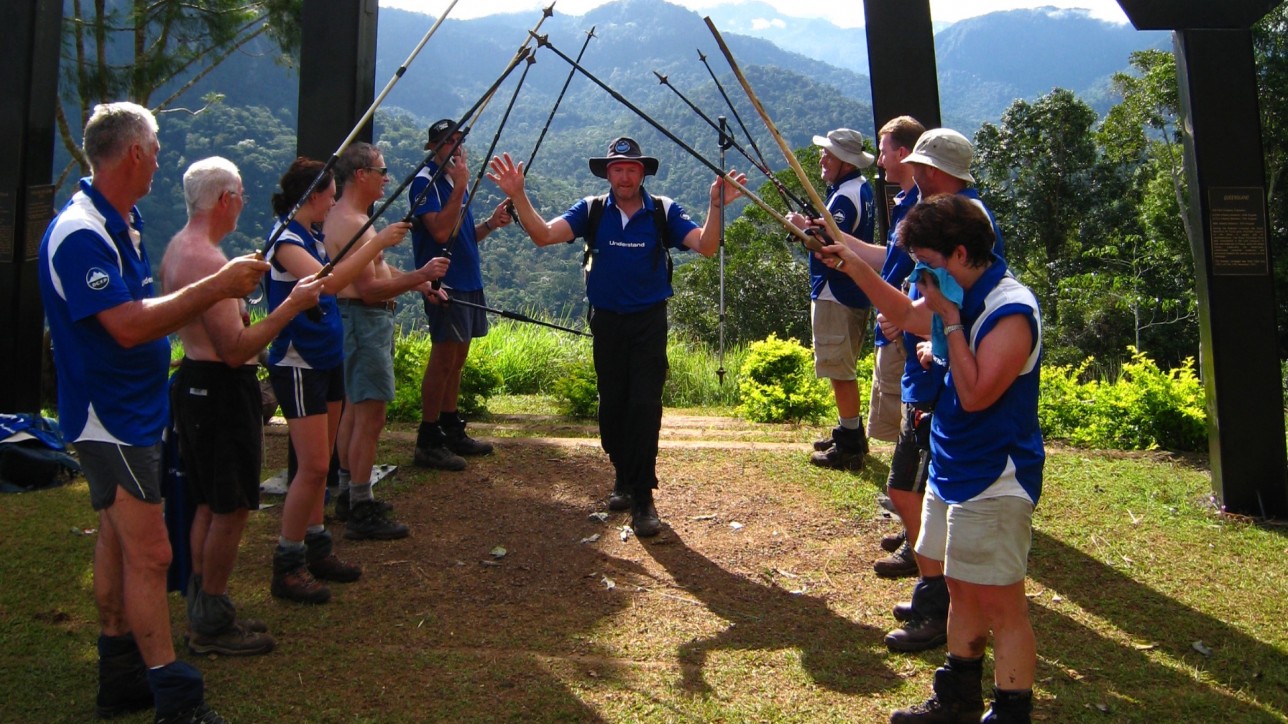
When footloose and fancy-free mountaineering in New Zealand in my youth I thought nothing about bounding in and out of the mountains with a huge pack on my back. However, with age comes wisdom, not to mention the dicky knee, hence my conversion to trekking poles for self-preservation.
Trekking poles are not widely used in Australia due to our benign terrain but are more prevalent in mountainous regions overseas. On some walks such as the Kokoda Track they are essential and have saved many a hapless trekker’s pride by stopping them disappear down a slope. Increasingly, the value of poles as an exercise medium and all round body workout is being discovered through pursuits such as Nordic Walking. Some research suggests trekking poles increases efficiency by up to 40%.
Trekking poles provide power and support. During steep descents they provide balance as well as protection to the knees particularly whilst carrying a large pack. On flatter terrain, poles can increase walking speed with the upper body providing push from the poles, similar to the action of a cross-country skier.
To get the best out of trekking poles there are some basics than need to be understood. Sadly I see many people use trekking poles like Zimmer frames with arms extended in front of their hips, making walking slow and hard work. First poles need to be adjusted. The principle is that you should not be raising your hands much higher than your waist. In a standing position, with the elbow bent at a 90-degree angle, the arm should be pushed out horizontally so it is parallel to the ground. The shaft height is adjusted so that the hand can then naturally grab the handgrip. The shaft length should be decreased for up hill work and increased for downhill walking. On a traverse, the shaft lengths should also be adjusted with the downhill pole being longer than the uphill pole or on steep traverses on pole can be held across the body and used like an ice-axe with the tip being pushed sideways into the steep slope.
However, the most important item is the wrist strap. With the pole in an upright position, the wrist strap is held out horizontally. The hand then comes through the strap loop from below and then the hand gently grips the handgrip. Most importantly the web of the hand between the thumb and forefinger sits snugly on the strap where it comes out of the handgrip. The strap should not be too long, otherwise your hand will flop out when you hand swings past your hip.
When walking, pressure is placed downward on the strap section that comes out of the handgrip not by gripping the handgrip. Initially this feels awkward as it is natural to hold the handgrip. However with practice, it gets more comfortable. When walking, the hands should remain close to the body and swinging naturally through with a bent elbow. Over time you can build considerable rhythm and cadence, as you become more proficient with the poles.
When descending, the poles are placed in front of and below your feet. Weight is then transferred onto the poles in one of two ways, either through pressure on the straps where the webbing of your hand touches the strap between thumb and forefinger or by placing the palms of your hand on the knobby bit at the top of the pole.
Anti-shock is a feature in some poles. A spring inside the pole reduces the amount of jarring on hands and wrists, particularly over rocky terrain. When descending, anti-shock allows you to gently absorb the full load of your body and pack onto the springs before stepping down. Like other trekking pole features, anti-shock is a matter of personal preference. The disadvantages include additional cost and weight, albeit marginal.
Single pole weight varies between 175 to 350 grams. Weight is not a significant factor unless you are going on extended walks where lighter poles reduce fatigue. Once you use light poles you will never go back to a heavier one.
Most collapsible poles have a mark indicating where to stop when extending poles. This should never be exceeded, as it will damage the pole. Poles that use twist or external (flicklock) adjustments allow a broader range of usable pole length. Binary and pin style adjustments have incremental or “stepped” adjustments but have the disadvantage of limiting the usable range and don’t always lock in icy conditions. External locking systems are more positive locking but add about 50 grams extra weight to the pole and you also need to carry a screwdriver or alum key to tighten them up every so often.
Handgrips usually are made of cork, rubber or foam. Cork is the lightest, moulds to the shape of your hand and doesn’t slip when sweating. It is the best material however it is less durable. Rubber handgrips are durable but on long walks I find that your hand sweats and blisters develop. Foam is comfortable but less durable. Some poles have a foam collar just below the handgrip to hold the pole when traversing.
Most trekking poles have simple strap adjustments, either a two-piece strap with buckle or velcro adjustment, or a single loop that feeds back into the handgrip with a pressure locking device. Padded wrist straps provide greater comfort, particularly if you use the straps correctly. The single loop wrist straps are superior. Personally I don’t like the buckle adjustments as it digs into the back of your hand.
Common shaft materials used are aluminium, chrome alloy and carbon fibre. Aluminium is the most common material being lightweight and relatively strong. Better grades of aluminium are more expensive and durable. Chrome alloy is a slightly heavier, cheaper and stiffer material and if bent or kinked is more likely to snap. Carbon fibre is lighter and very strong with very little flex, providing energy back to the user. However, they are more vulnerable to damage from a side blow.
Insulation can be an important consideration, particularly if you are using your poles in the snow. Poor insulation can lead to frostbitten fingers as heat is conducted away, particularly through metal shafts. Carbon poles and cork handgrips provide the best insulation properties.
Most poles use either steel or tungsten carbide tips. Tungsten tips are more hardwearing and provide bite over hard surfaces such as rock. Increasingly, poles are coming with the option for a rubber tip or cover. These are less jarring and more environmentally friendly on soft ground, not leaving holes behind. Most poles come with a standard sand basket and many also include snow baskets as extra. Baskets are essential, as many a hapless trekker has discovered on the Kokoda Track where the pole can disappear into the mud when it is weighted.
Trekking poles don’t need much maintenance. Clean and dry the inside of the pole after use as aluminium oxidises. Most parts are replaceable, allowing you to prolong the life of your pole.